Table of Contents
Key Takeaways
- A knee walker (knee scooter) lets you stay mobile during non-weight-bearing recovery from foot, ankle, or lower leg surgery
- Knee walkers are faster and less exhausting than crutches, and most people learn to use one in under ten minutes
- Proper handlebar height and knee pad adjustment are essential to avoid back, hip, and knee pain
- Rental typically costs $100 to $200 per month while purchasing ranges from $150 to $400 depending on features
- Knee walkers are not suitable for above-knee injuries, poor upper-body balance, or very steep or uneven terrain
What Is a Knee Walker?
A knee walker, also called a knee scooter, is a wheeled mobility device designed for people who cannot put weight on one foot or ankle. You rest your injured leg’s shin and knee on a cushioned platform, grip the handlebars, and push yourself forward with your good leg. Most models have three or four wheels, a hand brake, and a steering column similar to a bicycle.
Knee walkers fill a specific gap in mobility support. Traditional crutches require significant upper-body strength, put stress on your wrists and underarms, and leave you with no free hands. A standard walker provides stability but is slow and still requires some weight-bearing on both legs. If your surgeon has told you to keep all weight off one foot for weeks or months, a knee walker offers a practical middle ground that keeps you moving efficiently.
When to Use a Knee Walker
Knee walkers are prescribed or recommended after surgeries and injuries that require a non-weight-bearing period on one lower limb. Common scenarios include:
- Foot and ankle surgery. Bunionectomy, Achilles tendon repair, ankle fusion, fracture fixation, and metatarsal surgery all commonly require four to twelve weeks of non-weight-bearing recovery.
- Lower leg fractures. Tibial or fibular fractures below the knee that are being treated in a cast or boot.
- Amputation recovery. Some forefoot or partial foot amputations involve a non-weight-bearing phase during which a knee walker helps maintain independence.
- Diabetic foot ulcer management. When off-loading a wound is critical and the patient cannot tolerate a wheelchair full-time.
A knee walker is generally appropriate if the injury or surgery is at or below the knee on one leg, you have adequate balance and strength in your other leg, and you can grip handlebars comfortably. If you are recovering from hip or upper-leg surgery, a standard walker or rollator is typically a better choice because the knee platform will not be at the right angle for your leg.
How to Set Up and Adjust a Knee Walker
Getting the fit right prevents secondary injuries and makes the device comfortable for daily use. The two critical adjustments are the knee pad height and the handlebar height.
Adjusting the Knee Pad
Stand next to the knee walker with your good leg on the ground. Bend your injured leg and rest your shin on the knee pad. Your knee should sit comfortably on the rear portion of the pad, with your shin supported along its length.
The pad height should allow your hips to remain level. If the pad is too low, you will drop one hip and develop lower-back pain on the opposite side. If the pad is too high, you will tilt and lose balance. Most knee walkers adjust the pad height with a pin-and-hole mechanism similar to how walker legs adjust.
Adjusting the Handlebars
Handlebar height follows the same principle as any walking aid. Stand upright with your hands on the grips. Your elbows should have a slight bend of about 15 to 20 degrees. Handlebars that are too low force you to lean forward, straining your back. Handlebars that are too high push your shoulders up, causing neck and shoulder fatigue.
Checking the Brakes
Before your first ride, squeeze each brake lever to make sure the brake engages fully and the wheels lock. Knee walkers use bicycle-style hand brakes, and the cable tension may need adjustment out of the box. If the lever pulls all the way to the grip without fully engaging, tighten the cable adjuster or ask the supplier to do it before you leave.
How to Use a Knee Walker Safely
Basic Movement
- Stand beside the knee walker with both hands on the handlebars.
- Engage the brake. Place your injured leg’s knee and shin onto the pad.
- Release the brake and push off gently with your good foot, the way you would on a scooter.
- Steer with the handlebars. Most models have a limited turning radius, so make wide turns rather than sharp ones.
- To stop, squeeze the hand brake gradually. Avoid grabbing the brake suddenly at speed, which can pitch you forward.
Going Over Thresholds and Bumps
Door thresholds, sidewalk cracks, and small bumps are the most common hazard on a knee walker. Approach them slowly and straight-on, never at an angle. Lift the front wheel slightly by pushing down on the handlebars as you cross. If your home has raised thresholds, a small portable threshold ramp can eliminate the bump entirely. Our home accessibility checklist covers ramp options and other modifications that make indoor mobility safer.
Stairs
Knee walkers cannot go up or down stairs. For stairs, you will need to use crutches, scoot on your bottom, or have someone carry the knee walker between floors while you navigate with a railing and your good leg. If your home has multiple levels, consider keeping one knee walker on each floor or setting up a temporary living space on the main floor during recovery.
Outdoor Use
Knee walkers with larger pneumatic (air-filled) tires handle sidewalks, driveways, and packed gravel better than models with small solid wheels. If you plan to use the device outside regularly, look for a model with eight-inch or larger tires and a wide wheel base for stability. Avoid wet grass, mud, sand, and steep slopes, as the device can tip or slide.
Rental vs. Purchase
One of the first practical decisions is whether to rent or buy.
Renting
Durable medical equipment (DME) suppliers, pharmacies, and some orthopedic clinics offer knee walker rentals. Monthly rental rates typically range from $100 to $200. Renting makes sense when:
- Your non-weight-bearing period is six weeks or less.
- You want to try a knee walker before committing to a purchase.
- You do not have storage space for a device you may only use once.
Some rental companies deliver and pick up, while others require you to visit a storefront. Ask about sanitation procedures; the knee pad and grips should be thoroughly cleaned between users.
Purchasing
New knee walkers range from about $150 for basic three-wheel models to $400 or more for heavy-duty four-wheel models with all-terrain tires. Purchasing makes sense when:
- Your recovery will last eight weeks or longer, at which point rental costs approach or exceed the purchase price.
- You anticipate future surgeries or injuries where the device will be useful again.
- You want to choose a specific model with features that match your needs.
After recovery, you can sell the knee walker through online marketplaces, donate it, or store it for future use. Knee walkers hold their resale value well because demand is steady.
Insurance Coverage
Medicare generally covers crutches and standard walkers but does not routinely cover knee walkers, because crutches are considered the standard non-weight-bearing aid. Some private insurance plans do cover knee walkers with a prescription and a letter of medical necessity. If you are exploring whether Medicare covers mobility equipment, contact your plan directly and get a pre-authorization before renting or purchasing.
Knee Walker vs. Crutches vs. Seated Scooter
Each non-weight-bearing mobility option has trade-offs.
Crutches are inexpensive, lightweight, and easy to transport. However, they require significant upper-body strength, tire out your arms and shoulders quickly, and leave you with no free hands. Long-term crutch use is associated with nerve compression in the underarms and wrist strain.
Knee walkers are faster than crutches, less tiring, and free up your hands once you stop and engage the brake. They do not work well in tight spaces, cannot handle stairs, and require some balance to operate. They are best for people who are active and need to cover moderate distances during recovery.
Seated scooters and wheelchairs are the safest option if you have poor balance, upper-body weakness, or injuries on both legs. However, they are slower, harder to maneuver in homes with narrow doorways, and can lead to deconditioning if used exclusively for weeks. A caregiver or family member may need to assist with transfers.
Most surgeons recommend trying a knee walker first if the patient meets the physical requirements, and switching to crutches or a wheelchair only if the knee walker does not work out.
Tips for a Smoother Recovery
Pad the knee platform. The stock padding on many knee walkers is thin. Adding a folded towel, a gel seat cushion, or an aftermarket knee pad cover reduces pressure on your shin and kneecap. Check out options in our guide to walking aid accessories for ideas that work across multiple device types.
Attach a basket or bag. You will need to carry items like water bottles, phones, books, and medication. A handlebar bag or basket lets you transport things without holding them, which keeps both hands free for steering and braking.
Wear a shoe on your good foot. A sturdy, flat-soled shoe gives you better push-off and reduces the risk of slipping. Avoid flip-flops, socks on hard floors, or heeled shoes.
Practice in a clear space first. Before navigating your home, spend ten minutes in a driveway or open room getting comfortable with steering, braking, and turning. This builds muscle memory and confidence.
Watch for fatigue. Even though a knee walker is easier than crutches, you are still exerting effort through one leg and your arms. Take breaks, elevate your injured leg as directed by your surgeon, and do not push through exhaustion.
Secure loose rugs and cords. Wheel devices and loose floor coverings are a dangerous combination. Roll up area rugs, tape down cords, and clear pathways throughout your home before you start using the knee walker.
When to Talk to Your Doctor
Contact your surgeon or physical therapist if:
- You develop pain in your good knee, hip, or lower back that does not improve with rest and adjustment of the device.
- The skin on your shin or knee becomes red, irritated, or broken down from the pad.
- You feel unstable on the knee walker despite proper setup and practice.
- Your non-weight-bearing period is extended and you need to reevaluate your mobility plan.
A physical therapist can assess your technique, suggest modifications, and help you transition off the knee walker when your surgeon clears partial or full weight-bearing.
FAQ
Can I use a knee walker if I had knee surgery?
It depends on which knee. If the surgery was on the same leg that would rest on the knee pad, a knee walker is usually not appropriate because placing your healing knee on the platform could interfere with recovery. If the surgery was on your other knee, you need adequate strength and stability in the surgical knee to push off while walking. Always consult your surgeon before using a knee walker after any knee procedure.
How long does it take to learn to use a knee walker?
Most people become comfortable within five to ten minutes of practice. The motion is intuitive, similar to riding a push scooter. The main learning curve involves braking smoothly, making turns without tipping, and navigating doorways. A physical therapist or DME supplier can walk you through the basics during your first session.
Will my insurance cover a knee walker rental?
Medicare typically does not cover knee walkers because crutches are considered the standard alternative. However, some Medicare Advantage plans and private insurers do cover them with a prescription and documentation of medical necessity. Contact your insurance provider before renting and ask for pre-authorization in writing to avoid unexpected costs.
Can I use a knee walker outside on uneven ground?
You can use a knee walker on sidewalks, paved paths, and smooth driveways. Models with larger pneumatic tires handle cracks and minor bumps better than small-wheeled models. However, knee walkers are not safe on steep hills, wet grass, gravel, sand, or rough terrain. For outdoor errands, stick to paved surfaces and plan routes that avoid obstacles.
The MobilityLane Team
Written by a caregiver with 18+ years of experience supporting family members with chronic illness and mobility challenges, and medical training in mobility recovery. We research and write about mobility solutions to help people maintain independence and quality of life.
Learn more about us →Stay Independent, Stay Informed
Get our weekly guide to mobility solutions, funding tips, and home safety resources delivered to your inbox.
Thank you! Check your inbox to confirm your subscription.
Something went wrong. Please try again.
Join 1,000+ caregivers and families. Unsubscribe anytime.
Related Guides
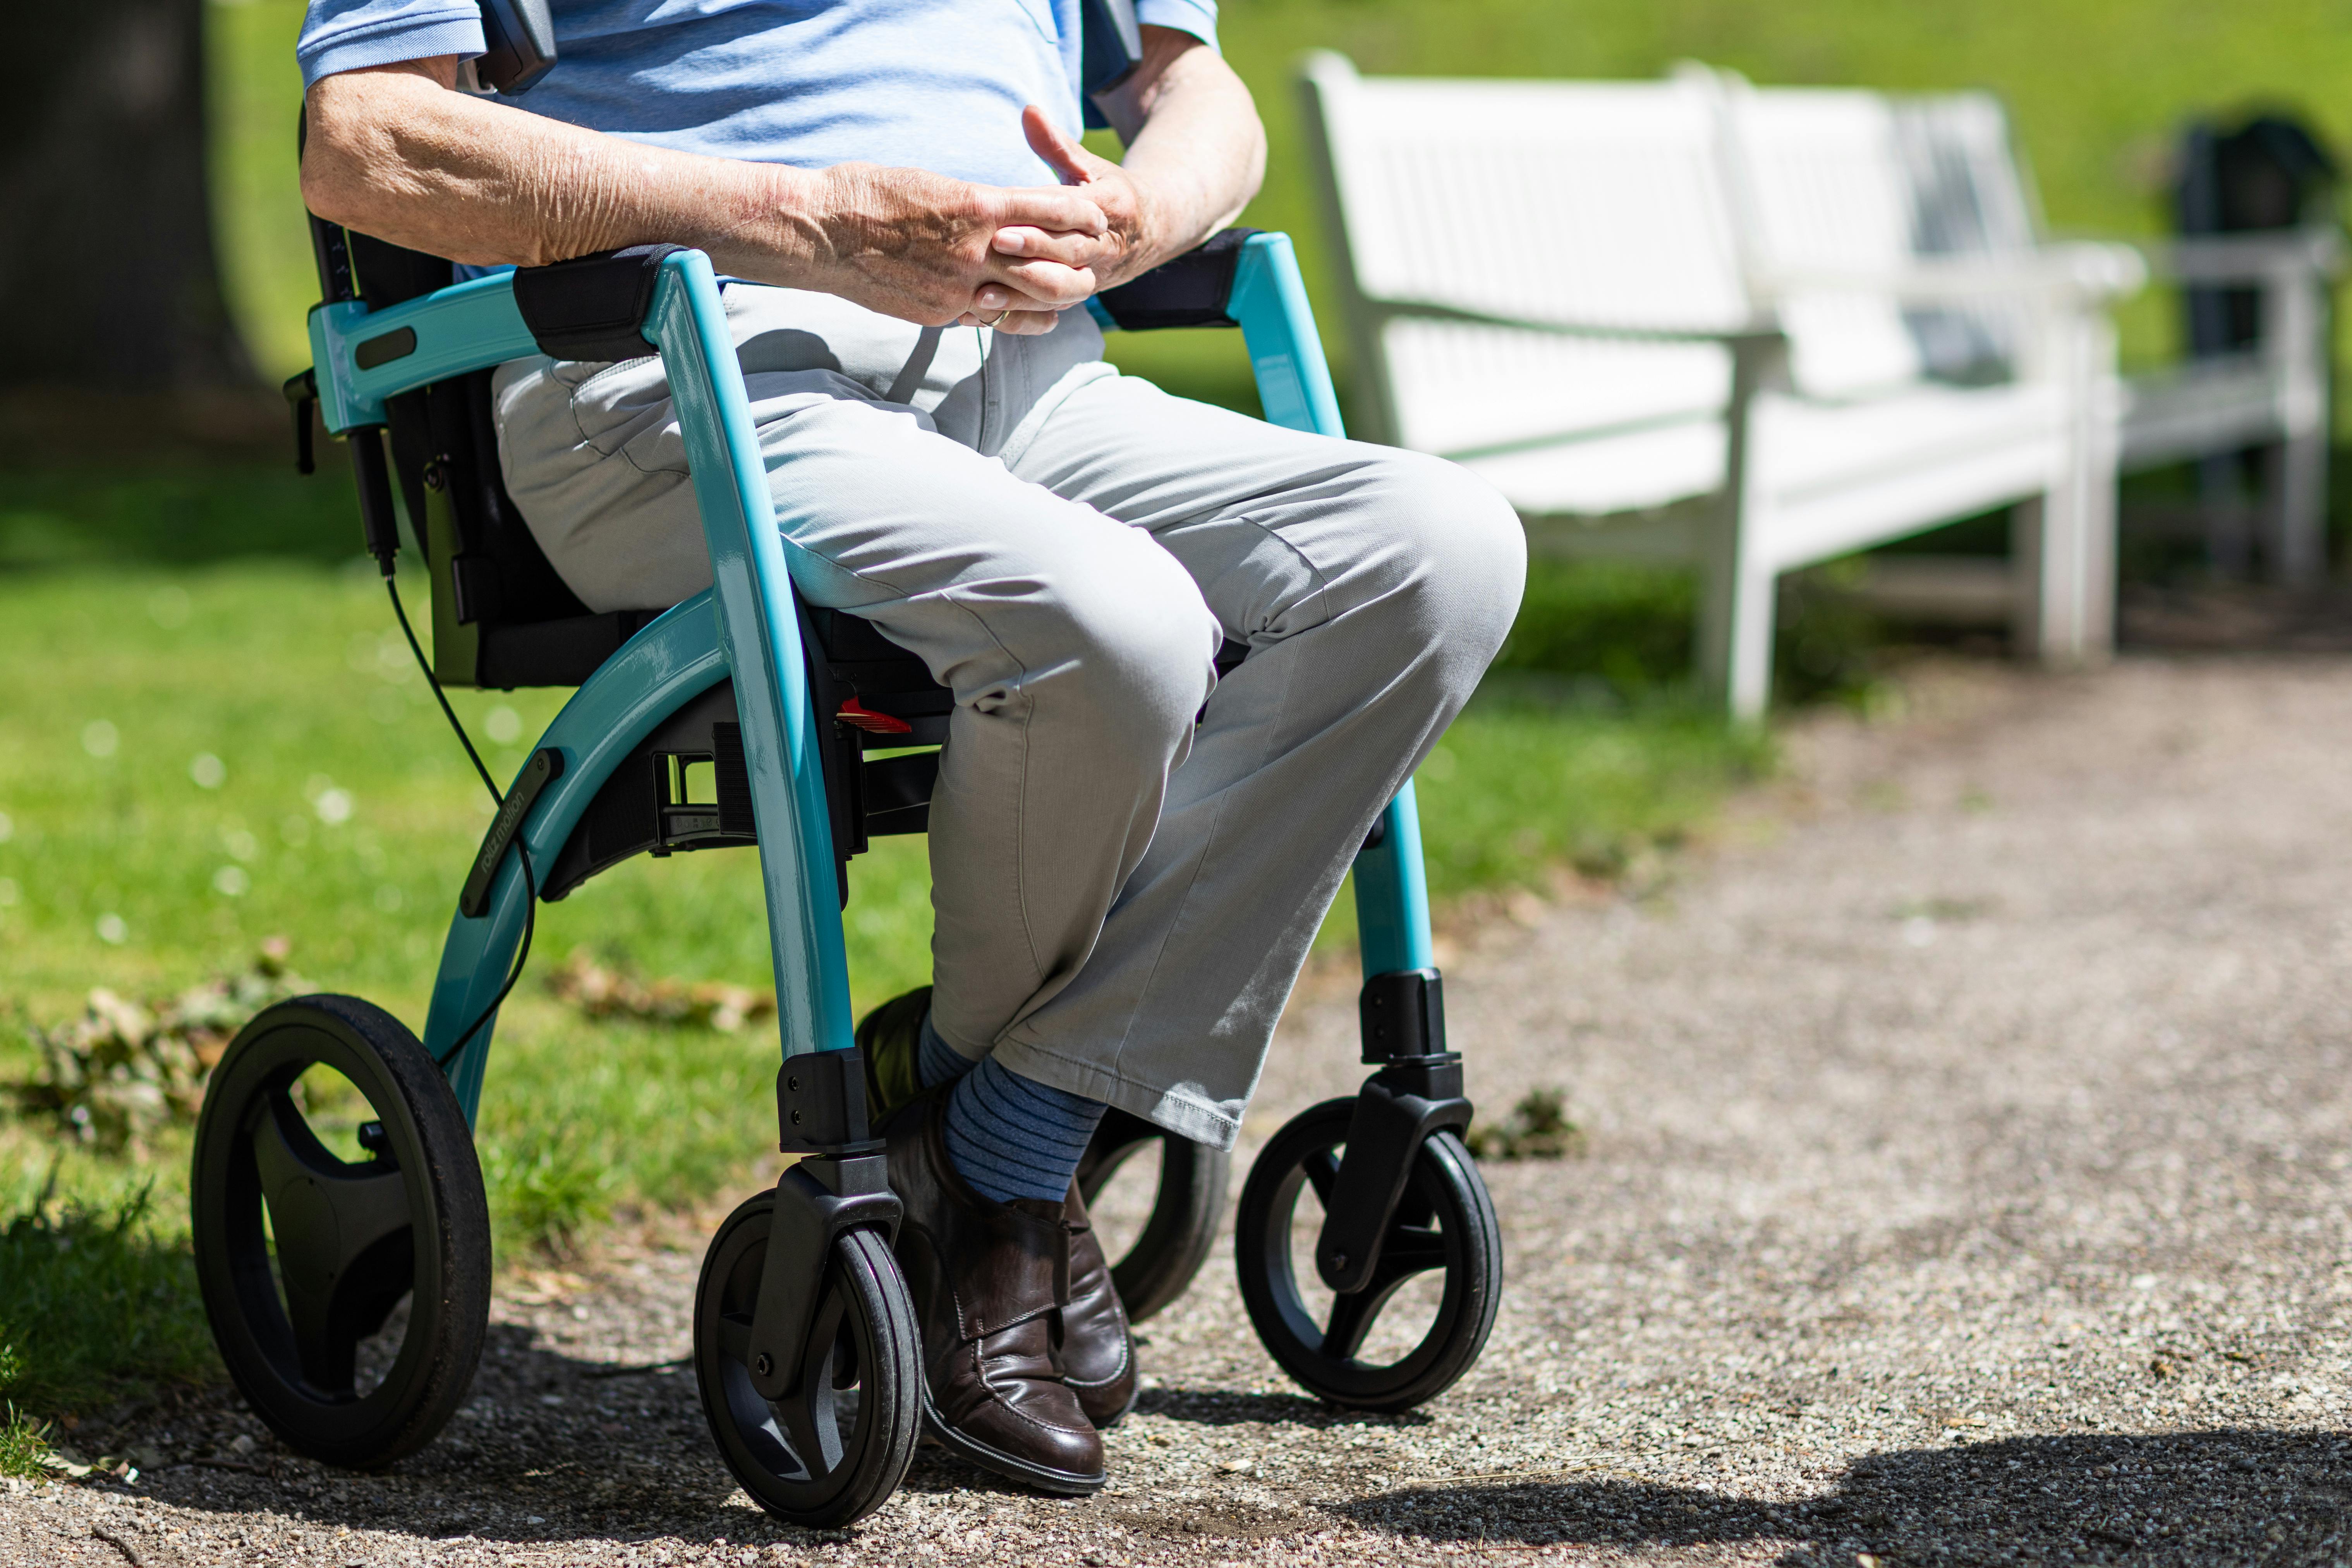
Rollator vs Walker: Which Mobility Aid Is Right for You?
Compare rollators and walkers side by side. Learn the key differences in wheels, brakes, seats, and stability to find th...
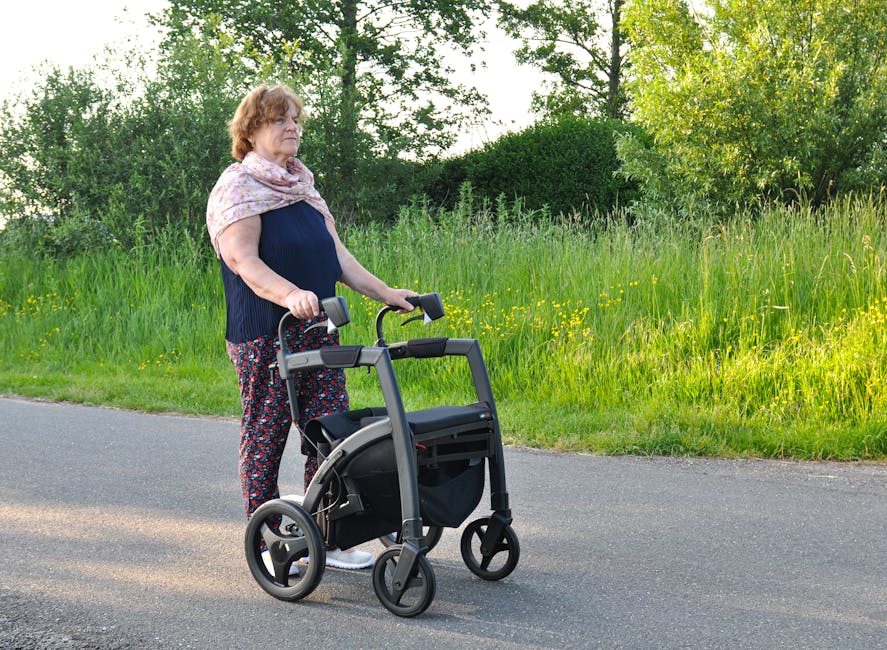
How to Size and Fit a Walker: Step-by-Step Guide
Learn how to properly size a standard walker for comfort and safety. Covers height adjustment, handle positioning, arm a...

Caregiver's Guide to Preventing Falls at Home
Evidence-based fall prevention strategies for caregivers. Covers risk factors, room-by-room hazard checks, exercises, me...