
Table of Contents
Key Takeaways
- The first priorities for a returning stroke survivor are a safe path from car to bed and a bathroom that supports seated transfers and one-handed use.
- Hemiparesis, or one-sided weakness, changes how a survivor approaches every task, so modifications should be made with the stronger side in mind.
- Many needed changes cost very little and can be done in days, while structural modifications such as ramps, widened doorways, or roll-in showers usually require a contractor and a plan.
- A home assessment by an occupational therapist before discharge provides the most accurate guidance and helps prioritize spending.
- Recovery is dynamic, so setups should be adjustable rather than permanent whenever possible, especially in the first six months.
Coming Home After a Stroke
Returning home after a stroke is a milestone, but it is also a period of risk. Falls, exhaustion, and frustration are common in the first weeks, and many of these problems come from a home that was not designed for someone with new mobility limitations. A few thoughtful changes, made in the right order, can turn a hazardous environment into one that supports recovery.
The scope of modifications depends on the survivor’s deficits. Hemiparesis is the most common presentation and means one side of the body is weaker or paralyzed. Other survivors experience ataxia, visual field loss, cognitive changes, or fatigue. Each pattern calls for different adjustments, and many homes need several kinds of changes at once.
This guide walks through priorities room by room, notes which changes are urgent and which can wait, and links to related resources for equipment and timelines. It is not a substitute for an in-home assessment by an occupational therapist, which should be the first step whenever possible.
Start With the Path From Car to Bed
Before thinking about grab bars or shower seats, walk through the exact path the survivor will take from the car into the house and to a resting spot on the first day home. Every obstacle on this path is a priority.
Exterior Approach
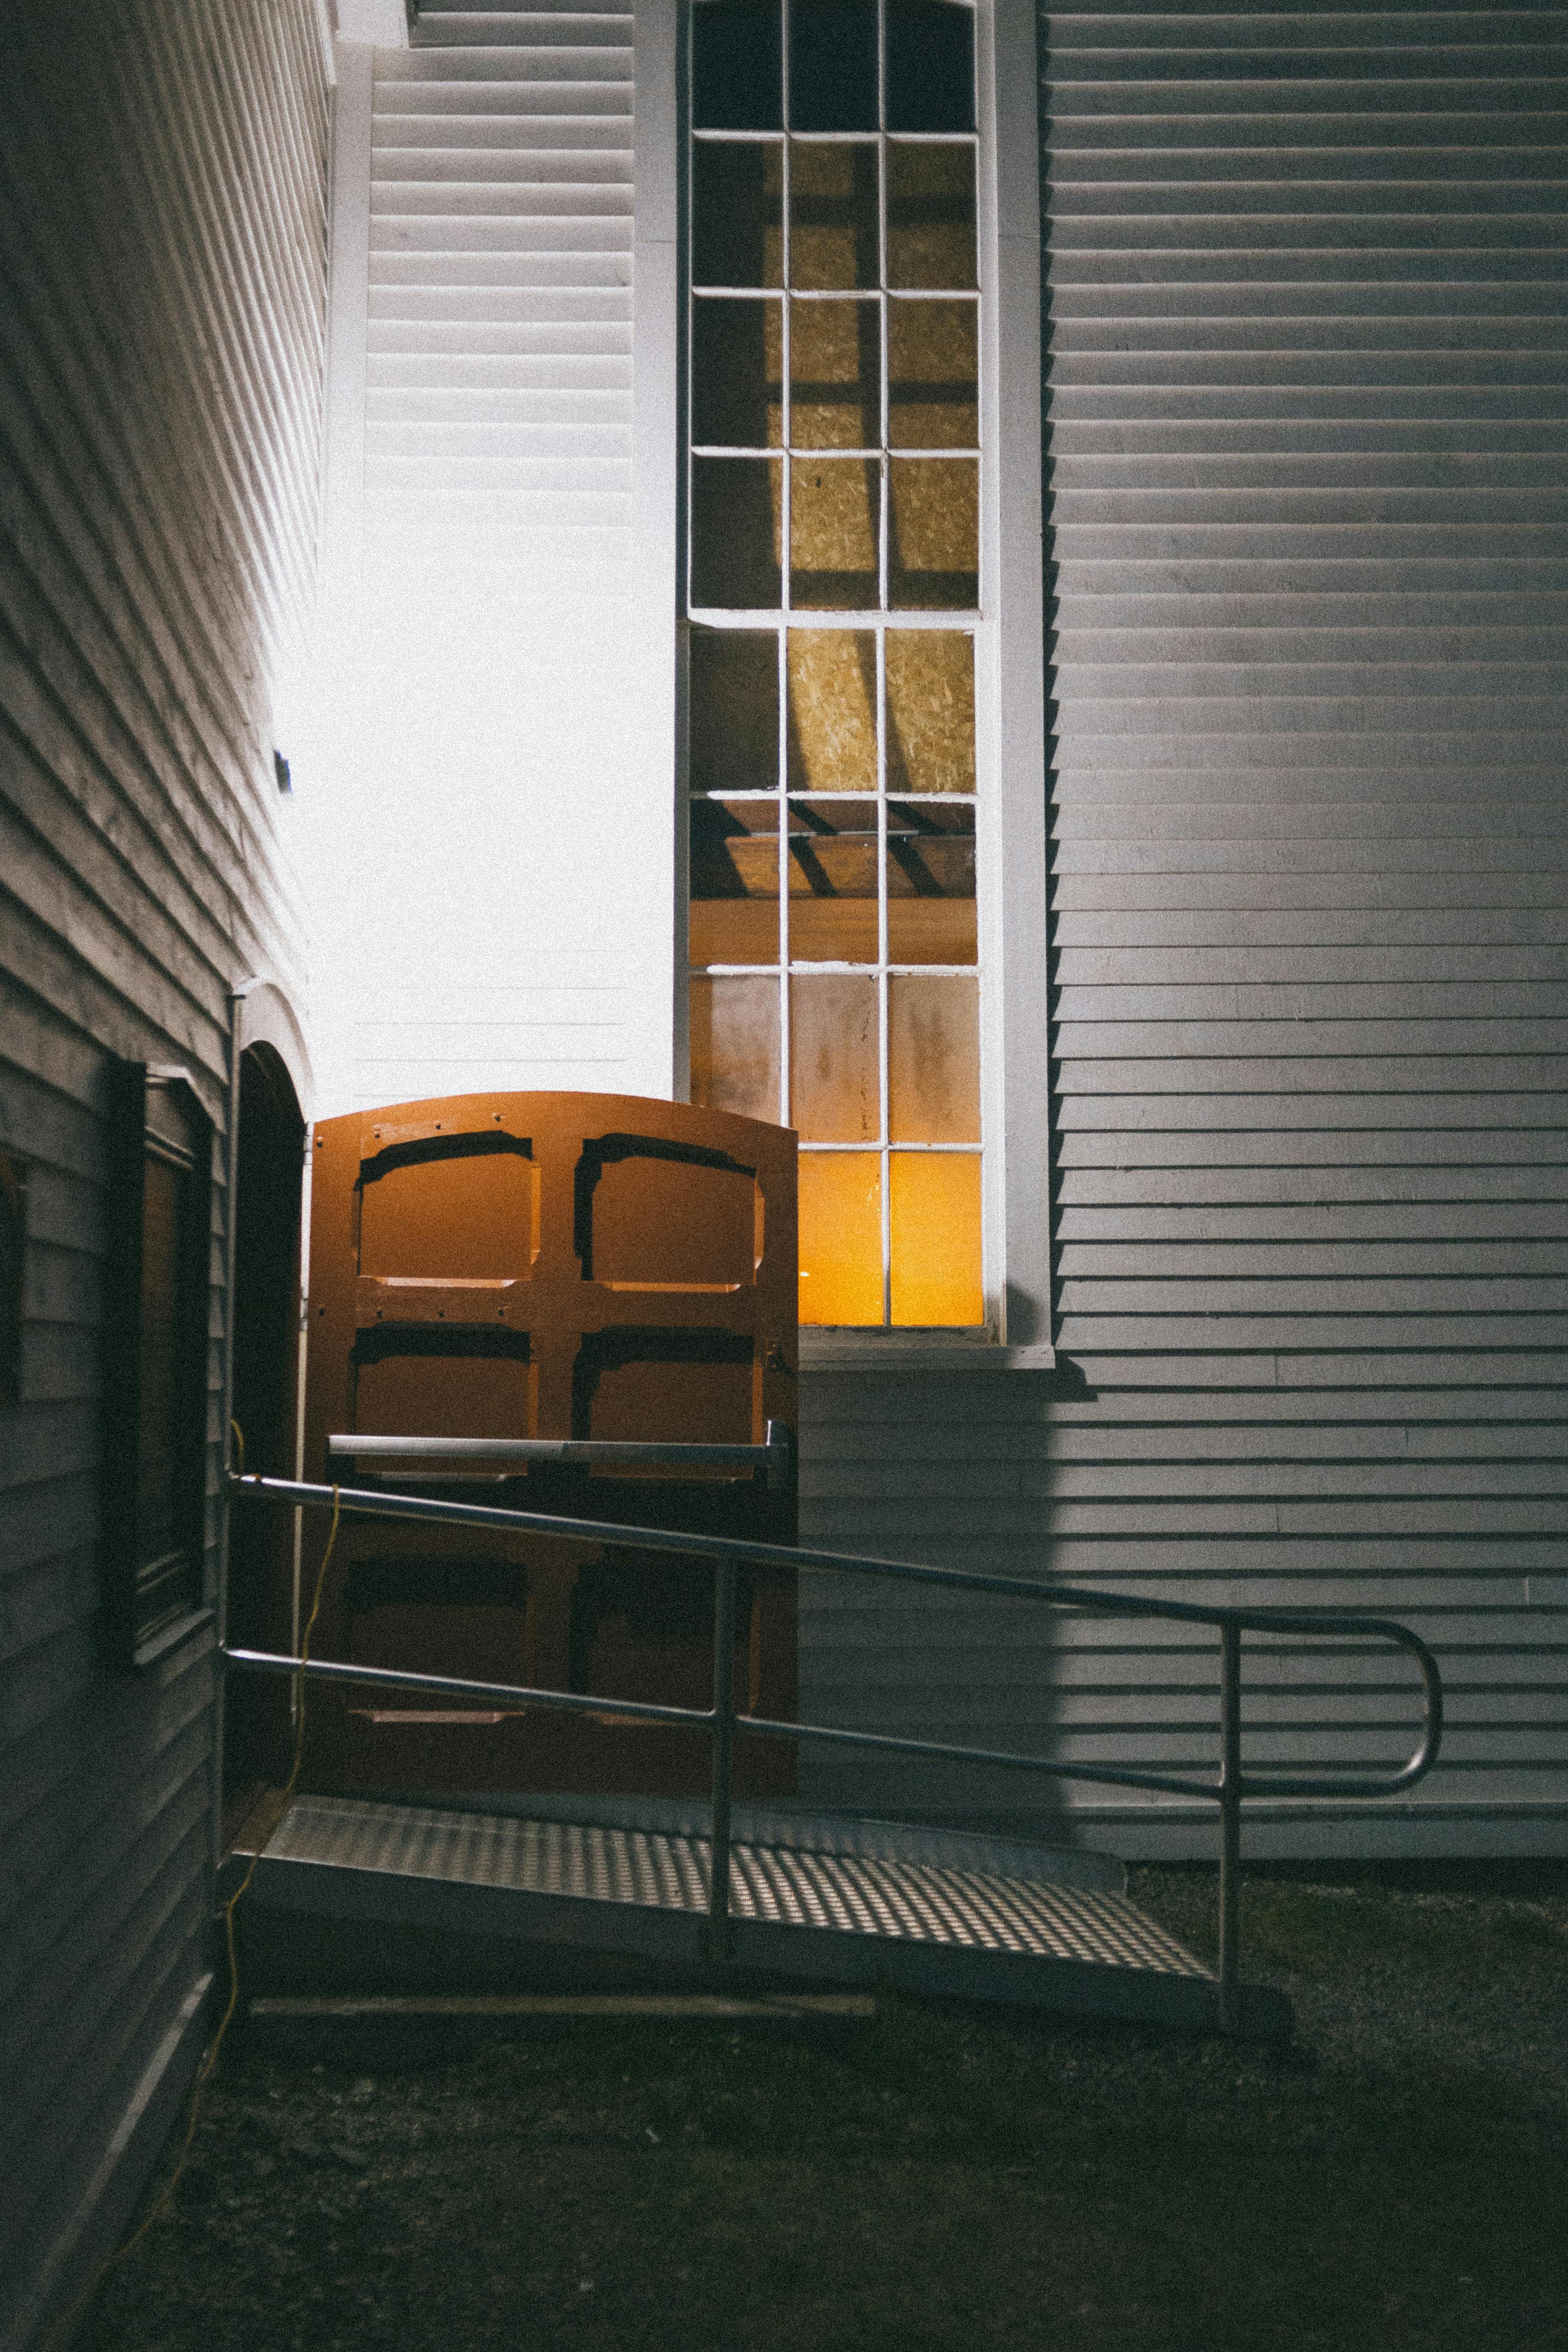
Steps at the front door are the most common barrier. Options range from portable suitcase ramps for one or two steps, to modular ramps for a short rise, to permanent ramps that meet the one-inch-of-run-per-inch-of-rise guideline. Threshold ramps smooth the transition from an exterior surface to a door. Handrails on both sides of any steps matter more than before; a single rail on the formerly dominant side no longer helps if that side is now weaker.
Walkway surfaces should be solid, even, and well-lit. Uneven pavers, gravel, and icy patches are serious fall risks. Motion-sensor lighting improves nighttime safety without asking the survivor to flip switches.
Entry and Hallways
Doorways narrower than 32 inches of clear opening can block a walker, rollator, or wheelchair. Swing-away hinges recover an inch or two without rebuilding the door. Beyond the entry, clear a direct path to the main living area by removing throw rugs, runners, floor lamps, and pet bowls. Rugs are a leading cause of trips and should come up even if they are secured with tape. Cords should be run along baseboards or covered with low-profile protectors.
Temporary Sleeping Location
Many returning stroke survivors cannot manage stairs safely at first. Setting up a main-floor sleeping area, even a rented hospital bed in a living room, removes the most dangerous daily activity from the recovery period. A sturdy chair or commode placed near the bed provides a safe place to transition.
Bathroom Modifications
Bathrooms are where most falls happen at home. They combine wet surfaces, tight spaces, and activities that require standing and balance. For stroke survivors, the bathroom is usually the highest-priority room for modification.
Toilet Access
A standard toilet is too low for most people recovering from a stroke. Raised toilet seats, elevated toilet frames with armrests, or bolt-on bidet units with built-in height increase the seat height to around 17 to 19 inches. Grab bars installed next to and behind the toilet give a handhold for sitting and standing. Mounting bars into wall studs or solid blocking is essential; suction-cup bars are not safe for weight bearing.
Shower and Bathing
Tub baths are almost always unsafe in the early weeks after a stroke. A transfer bench or shower chair lets the survivor sit during bathing and avoid lifting legs over a tub rim. Handheld shower sprayers replace fixed heads so water can be directed without standing. Non-slip mats or textured strips on the floor of the tub or shower reduce slipping.
For survivors with more significant deficits, a roll-in shower eliminates the tub entirely. Converting a tub to a roll-in shower is a significant project but is often worthwhile when recovery is expected to be long. Comprehensive options for bathroom changes are covered in our bathroom safety comprehensive guide.
Sink, Mirror, and Storage
One-handed use is the default after a hemiparetic stroke. Single-handle faucets replace two-knob fixtures. Tilting mirrors or lower mirrors let a seated user see themselves. Storage should be reachable from a seated position, with everyday items at waist height. Soap dispensers that work with a push or pump free up the stronger hand.
Bedroom Setup
The bedroom needs to support safe transfers, rest, and dressing.
Bed Height and Transfers
A bed that is too low makes standing difficult, while one that is too high makes sitting down awkward. The ideal height lets the survivor sit with feet flat on the floor and knees at roughly a right angle. Bed risers or a replacement frame can adjust height. A hospital-style bed with electric controls offers the most flexibility and is sometimes covered by insurance for the early recovery period.
Transfer bars and bed rails can help with getting in and out. A grab bar mounted to the wall next to the bed is safer than a rail that clamps to the mattress frame, though clamp-on rails are useful when wall mounting is not possible. Choose bars installed on the stronger side.
Dressing
Dressing is often one of the most frustrating parts of early recovery. A sturdy chair or bench where the survivor can sit while dressing reduces fall risk. Adaptive clothing, elastic waistbands, slip-on shoes, and dressing sticks make one-handed dressing possible. Closet rods lowered to seated height make daily clothes reachable.
Lighting and Night Safety
Falls at night are particularly dangerous because survivors are often disoriented and moving alone. Nightlights between the bed and bathroom, motion-activated lighting, and a bedside lamp with a large switch or touch base reduce fumbling. A clear pathway with no rugs or obstacles is essential.
Kitchen Adjustments
Kitchens are where survivors often want to regain independence first. Small changes make a large difference.
Counter and Sink Access
Pull-out boards or cutting surfaces at counter height give a place to work while seated. A shallow sink or one with lower counter clearance allows wheelchair or seated use. Single-handle faucets with long handles or touchless sensors reduce the strain of reaching and twisting.
Storage
Frequently used items should move to waist-height drawers and open shelves. Heavy dishes, tall cabinets, and hard-to-reach storage become dangerous when balance is compromised. Lazy Susans, pull-out drawers, and step-free access points make kitchens easier to use. Items that are rarely used can move to less convenient storage.
Cooking and Eating Tools
One-handed cooking becomes possible with non-slip cutting boards, rocker knives, jar openers, and pot stabilizers. Built-up handles on utensils help survivors with weak grip. Electric appliances such as kettles with automatic shutoff reduce risk compared to stovetop pots.
Stairs and Upper Levels
If a survivor cannot be safely relocated to a single level, stairs require attention.
Rails and Treads
Handrails on both sides of every stairway are essential. Rails should be continuous from top to bottom, with a round profile that can be gripped firmly. Treads need non-slip surfaces, clear lighting, and visible edge contrasts. Clutter on stairs becomes especially dangerous.
Stair Climbers and Lifts
For longer-term needs, a stair lift installed along the existing staircase can make upper floors accessible again. These require a professional installation but are less expensive than an elevator and can be removed later if the survivor regains stair-climbing ability. Some families instead relocate bedrooms and full baths to the main floor permanently.
Living Spaces and General Circulation
The rest of the home should support safe movement and rest.
Furniture Heights and Arrangement
Seats that are too low make rising difficult. Sofas and chairs can be raised with risers or replaced with taller models. Armrests are essential for pushing to stand. Clear aisles of at least 36 inches wide accommodate walkers and wheelchairs.
Flooring
Deep-pile carpets catch walker wheels and increase fall risk. Hard flooring or low-pile carpet is safer. Transitions between rooms should be flush or close to flush. Slippery floors, especially polished wood or tile, can be addressed with non-slip finishes or strategic rugs with non-slip backing.
Technology
Voice-activated assistants, smart plugs, and automatic lights let survivors control their environment without reaching for switches or bending for outlets. Video doorbells let a survivor see and speak to visitors without getting to the door. These changes are modest in cost and can dramatically reduce effort.
Equipment and Timing
Some modifications can be made overnight, while others take planning. Our stroke recovery equipment timeline describes how needs typically evolve from acute rehab through early and later recovery, and our article on mobility aids stroke recovery covers which devices are most likely to be useful at each stage. For a broader room-by-room review, the home accessibility checklist can help families organize their thinking.
Family caregivers benefit from understanding the equipment they will be helping with. Our caregiver mobility equipment guide walks through transfer tools, lifts, and cushions that support safe care.
Funding and Professional Help
Many home modifications are paid for out of pocket, but several funding sources can help.
- Medicare covers some durable medical equipment, including hospital beds, commodes, and certain wheelchairs, but generally does not pay for structural home modifications.
- Medicaid waivers in many states cover home accessibility improvements for eligible beneficiaries.
- Veterans benefits include home modification grants for veterans with service-connected disabilities.
- Area agencies on aging may connect families with local programs for ramps, grab bars, and minor modifications.
- Nonprofit organizations provide limited support in some communities.
An occupational therapist who conducts a home assessment can recommend priorities, suggest specific modifications, and help document medical necessity for funding applications. A contractor who specializes in accessibility or aging-in-place work understands the difference between cosmetic changes and ones that will support long-term independence.
Adjusting as Recovery Progresses
Stroke recovery is rarely linear. Abilities change from week to week, sometimes from day to day. Modifications that are essential in month one may be unnecessary by month six. The best strategy is to start with the most urgent changes, use adjustable and removable solutions where possible, and revisit the home setup at regular intervals with the rehabilitation team.
Modifications should also support the survivor’s goals. If regaining the ability to cook is important, kitchen changes matter more than cosmetic improvements elsewhere. If returning to stair use is a target, setting up a main-floor alternative temporarily does not mean giving up on that goal.
Frequently Asked Questions
What is the single most important home modification after a stroke?
For most stroke survivors, the most impactful modification is making the bathroom safe with grab bars, a raised toilet, and a shower seat or transfer bench. Bathrooms are where most falls happen, and daily bathing and toileting cannot be skipped. A safe bathroom removes the highest-frequency risk in the home.
How soon should home modifications be made?
Ideally, basic modifications should be in place before the survivor comes home from the hospital or rehabilitation facility. Discharge planners and occupational therapists can help arrange home assessments before discharge. At minimum, a safe path to bed, a safe bathroom setup, and removal of tripping hazards should be complete on day one. More involved changes can follow in the first weeks.
Can I do home modifications myself or do I need a contractor?
Many modifications are DIY-friendly. Installing a raised toilet seat, adding a shower chair, removing rugs, and rearranging furniture require no special skills. Mounting grab bars safely requires finding studs or installing solid blocking, which is within most handy people’s ability. Structural changes such as widening doorways, building ramps, converting tubs to showers, or installing stair lifts should be done by a licensed contractor, ideally one with experience in accessibility work.
Will insurance pay for home modifications?
Health insurance generally does not cover home modifications because they are considered changes to the home rather than medical equipment. Medicare covers some medical equipment used in the home. Medicaid waiver programs in many states fund accessibility modifications for eligible beneficiaries, and veterans may qualify for modification grants through the VA. Long-term care insurance policies sometimes include a home modification benefit. Always ask specifically and request a pre-authorization whenever possible.
How do I know when a modification is still needed or can be removed?
Work with the rehabilitation team to reassess at regular intervals, typically every one to three months in the first year. Modifications that once felt essential may become unnecessary as strength and balance return. Others may need to be adjusted rather than removed. Removing supports too soon can lead to a fall, so err on the side of keeping them until the therapist is confident the survivor is ready to do without.
The MobilityLane Team
Written by a caregiver with 18+ years of experience supporting family members with chronic illness and mobility challenges, and medical training in mobility recovery. We research and write about mobility solutions to help people maintain independence and quality of life.
Learn more about us →Stay Independent, Stay Informed
Get our weekly guide to mobility solutions, funding tips, and home safety resources delivered to your inbox.
Thank you! Check your inbox to confirm your subscription.
Something went wrong. Please try again.
Join 1,000+ caregivers and families. Unsubscribe anytime.
Related Guides

Mobility Aids After a Stroke: Equipment for Every Recovery Stage
A comprehensive guide to mobility equipment during stroke recovery. Covers the progression from hospital to home, walker...

Stroke Recovery Equipment Timeline: What You Need at Each Stage
A phase-by-phase guide to mobility equipment during stroke recovery covering acute care, inpatient rehab, home transitio...
Home Accessibility Checklist: Room-by-Room Safety Guide
A comprehensive room-by-room home accessibility checklist for seniors. Covers grab bars, ramps, lighting, bathroom safet...